Remember that feeling? The open road, the responsive steering, and…the tinny sound of a factory-installed radio struggling to keep up with your favorite track? You know your car deserves better, and transforming that listening experience often starts with a Pioneer car audio double DIN head unit.
The jump from a basic factory radio to a modern Pioneer double DIN unit is more than just an aesthetic upgrade; it's a fundamental shift in how you interact with your car and your music. Pioneer has been a mainstay in car audio since, well, practically the beginning of in-car entertainment. They’ve consistently pushed the boundaries, delivering innovations like CD players, digital media playback, and now, sophisticated touchscreen interfaces with smartphone integration. A Pioneer double DIN represents a significant leap forward in sound quality, connectivity, and overall driving enjoyment.
Before you dive in, remember this: preparation is key. Research compatibility with your specific vehicle model, gather all the necessary wiring harnesses and adapters, and don't hesitate to consult with a professional installer if you're uncomfortable with the electrical work. A little planning can save you hours of frustration and ensure a seamless installation.
Pioneer Car Audio Double DIN: Unleash the Ultimate In-Car Entertainment
The allure of a double DIN head unit lies in its versatility. It’s not just about playing music louder; it’s about integrating seamlessly with your digital life, offering navigation, smartphone mirroring, and advanced audio controls, all conveniently accessible from your dashboard. Pioneer, in particular, has mastered this blend of functionality and user-friendliness, making their double DIN units a popular choice for upgrading any vehicle’s sound system.
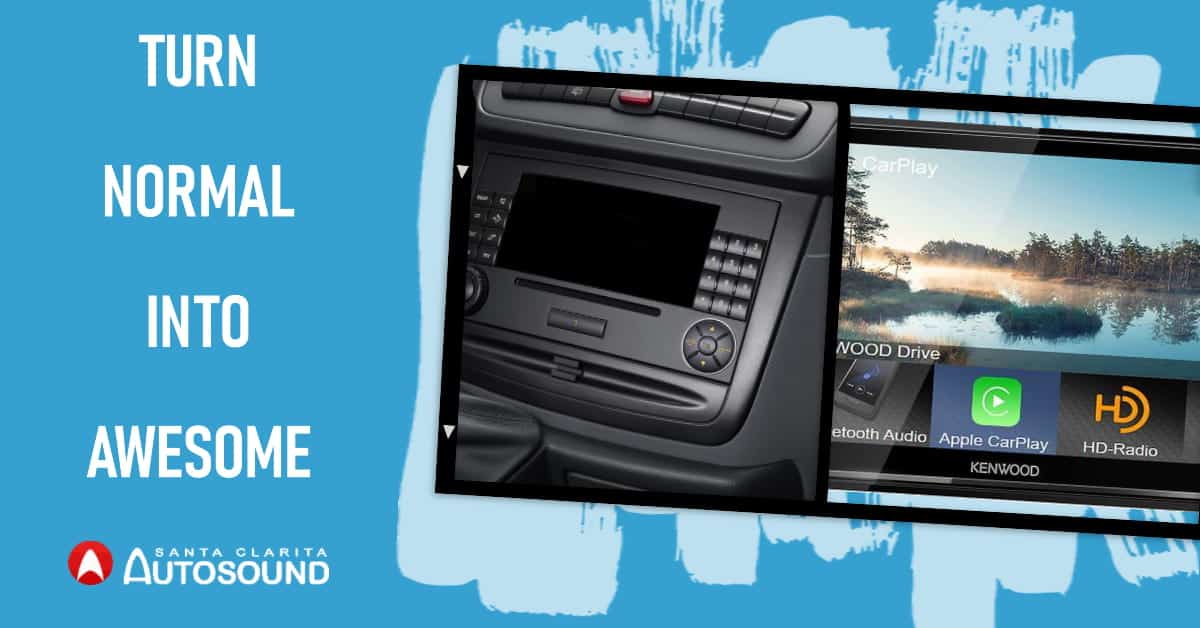
A Pioneer double DIN head unit is a significant upgrade. This upgrade is more than just an aesthetic improvement – it's an investment in your daily driving experience. You’ll enjoy better sound quality, more ways to connect your devices, and modern features like Apple Car Play and Android Auto. This tech allows seamless control of your phone’s navigation, music, and messaging apps directly from the receiver’s touchscreen. These units transform the in-car experience, making every drive a little more enjoyable.
Key Features to Look For
Apple Car Play and Android Auto Compatibility: Seamless integration with your smartphone for navigation, music, and calls. Bluetooth Connectivity: Hands-free calling and wireless audio streaming. Touchscreen Display: Intuitive control over all receiver functions. USB and AUX Inputs: Connectivity for various audio devices. Navigation Capabilities: Some models offer built-in GPS navigation. Expandability: Pre-amp outputs for adding amplifiers and subwoofers. Backup Camera Input:Enhanced safety with a rear-view camera display.
Choosing the right Pioneer double DIN unit depends on your specific needs and budget. Consider factors like screen size, features, and compatibility with your vehicle. Read reviews and compare specifications to make an informed decision. Many retailers offer online tools that allow you to check compatibility with your specific vehicle make and model. These tools typically require you to enter your vehicle's year, make, and model to determine if the head unit will fit and if any additional wiring harnesses or adapters are needed.
Beyond features, think about the unit’s user interface. Is it intuitive and easy to navigate while driving? Can you customize the display to match your car's interior lighting? A well-designed interface can make a world of difference in your daily driving experience. And finally, factor in the long-term reliability. Pioneer has a strong reputation for quality, but reading customer reviews can give you insights into real-world performance and potential issues. Consider an extended warranty for added peace of mind.
Pioneer Double DIN Installation: A Step-by-Step Guide
Installing a Pioneer double DIN head unit can seem daunting, but with the right tools, preparation, and a bit of patience, it's a manageable DIY project. Here’s a simplified overview:
1.Gather Your Tools and Materials: You’ll need a socket set, screwdrivers (Phillips and flathead), wire strippers, wire crimpers, electrical tape, wiring harness adapter, and the new Pioneer double DIN head unit.
2.Disconnect the Battery: Safety first! Disconnect the negative terminal of your car's battery to prevent electrical shorts.
3.Remove the Factory Radio: Consult your car's service manual or online resources for specific instructions on removing your factory radio. This usually involves removing trim panels and unscrewing the radio from its mounting brackets.
4.Connect the Wiring Harness: Use the wiring harness adapter to connect the Pioneer head unit to your car's wiring. Match the wires according to the color codes on both harnesses. Crimp or solder the connections and cover them with electrical tape.
5.Connect the Antenna and Other Cables: Connect the antenna cable and any other necessary cables, such as the backup camera cable or steering wheel control adapter.
6.Test the Head Unit: Before mounting the head unit, reconnect the battery and test all functions to ensure everything is working properly.
7.Mount the Head Unit: Slide the Pioneer head unit into the mounting brackets and secure it with screws.
8.Reinstall Trim Panels: Reinstall any trim panels that were removed during the process.
9.Reconnect the Battery: Reconnect the negative terminal of your car's battery.
Important Considerations During Installation
Wiring Diagrams: Always refer to the wiring diagrams for both your car and the Pioneer head unit to ensure correct connections. Professional Installation: If you're not comfortable with electrical work, consider having the head unit professionally installed. Grounding: Ensure proper grounding of the head unit to prevent noise and interference. Steering Wheel Controls: If your car has steering wheel controls, you may need a separate adapter to retain their functionality with the new head unit. Backup Camera Integration:If you're installing a backup camera, follow the camera's instructions for wiring and mounting.
Navigating Compatibility and Common Issues
Even with careful planning, you might encounter a few snags during the Pioneer double DIN installation process. Here are some common issues and how to address them: Head Unit Doesn't Fit: Double-check the dimensions of the head unit and the opening in your car's dashboard. You may need a dash kit to fill any gaps or adapt the opening to the correct size. No Power: Ensure that the wiring harness is properly connected and that the fuse for the head unit is not blown. No Sound: Check the speaker connections and make sure the head unit is not muted. If you have an amplifier, ensure it is properly connected and powered on. Steering Wheel Controls Not Working: Ensure that the steering wheel control adapter is properly installed and programmed. Consult the adapter's instructions for programming details. Backup Camera Not Displaying:Check the camera's wiring and make sure the head unit is set to display the camera input.
Ensuring a Smooth Experience
Research: Thoroughly research your car's compatibility with the Pioneer head unit before purchasing. Tools: Gather all the necessary tools and materials before starting the installation. Instructions: Carefully read the instructions for both the head unit and any adapters you are using. Patience: Take your time and don't rush the installation process. Support:If you encounter any problems, consult with a professional installer or contact Pioneer customer support.
FAQ: Pioneer Double DIN Car Audio
What is the difference between single DIN and double DIN?
The "DIN" refers to a standard size for car audio head units. Single DIN units are roughly 2 inches tall, while double DIN units are roughly 4 inches tall. Double DIN units typically offer larger screens and more features than single DIN units. They use the same width dimension, but double DIN units offer twice the height. *Can I install a double DIN unit in a car that originally had a single DIN?
In some cases, yes. It depends on the design of your car's dashboard. Some cars have a modular dashboard that can be modified to accommodate a double DIN unit. Others may require extensive modifications or may not be compatible at all. Consult with a professional installer to assess the feasibility. *What is the best Pioneer double DIN head unit for sound quality?
Pioneer offers a range of double DIN head units with varying levels of sound quality. Look for models with features like high-resolution audio support, advanced sound processing, and pre-amp outputs for connecting external amplifiers. Models with built-in Digital Sound Processors (DSPs) offer advanced tuning capabilities, allowing you to optimize the sound for your specific car and speakers. Consider reading reviews and comparing specifications to find the best option for your needs.
Upgrading your car's audio system with a Pioneer double DIN head unit is an investment that pays off every time you hit the road. It’s about enhancing the soundtrack to your life, making every drive a more enjoyable and connected experience. With the right unit and a little effort, you can transform your car into a rolling entertainment hub, perfectly tuned to your personal taste. Now, go forth and experience the open road like never before.
Posting Komentar untuk "pioneer car audio double din: Features & Installation Tips"